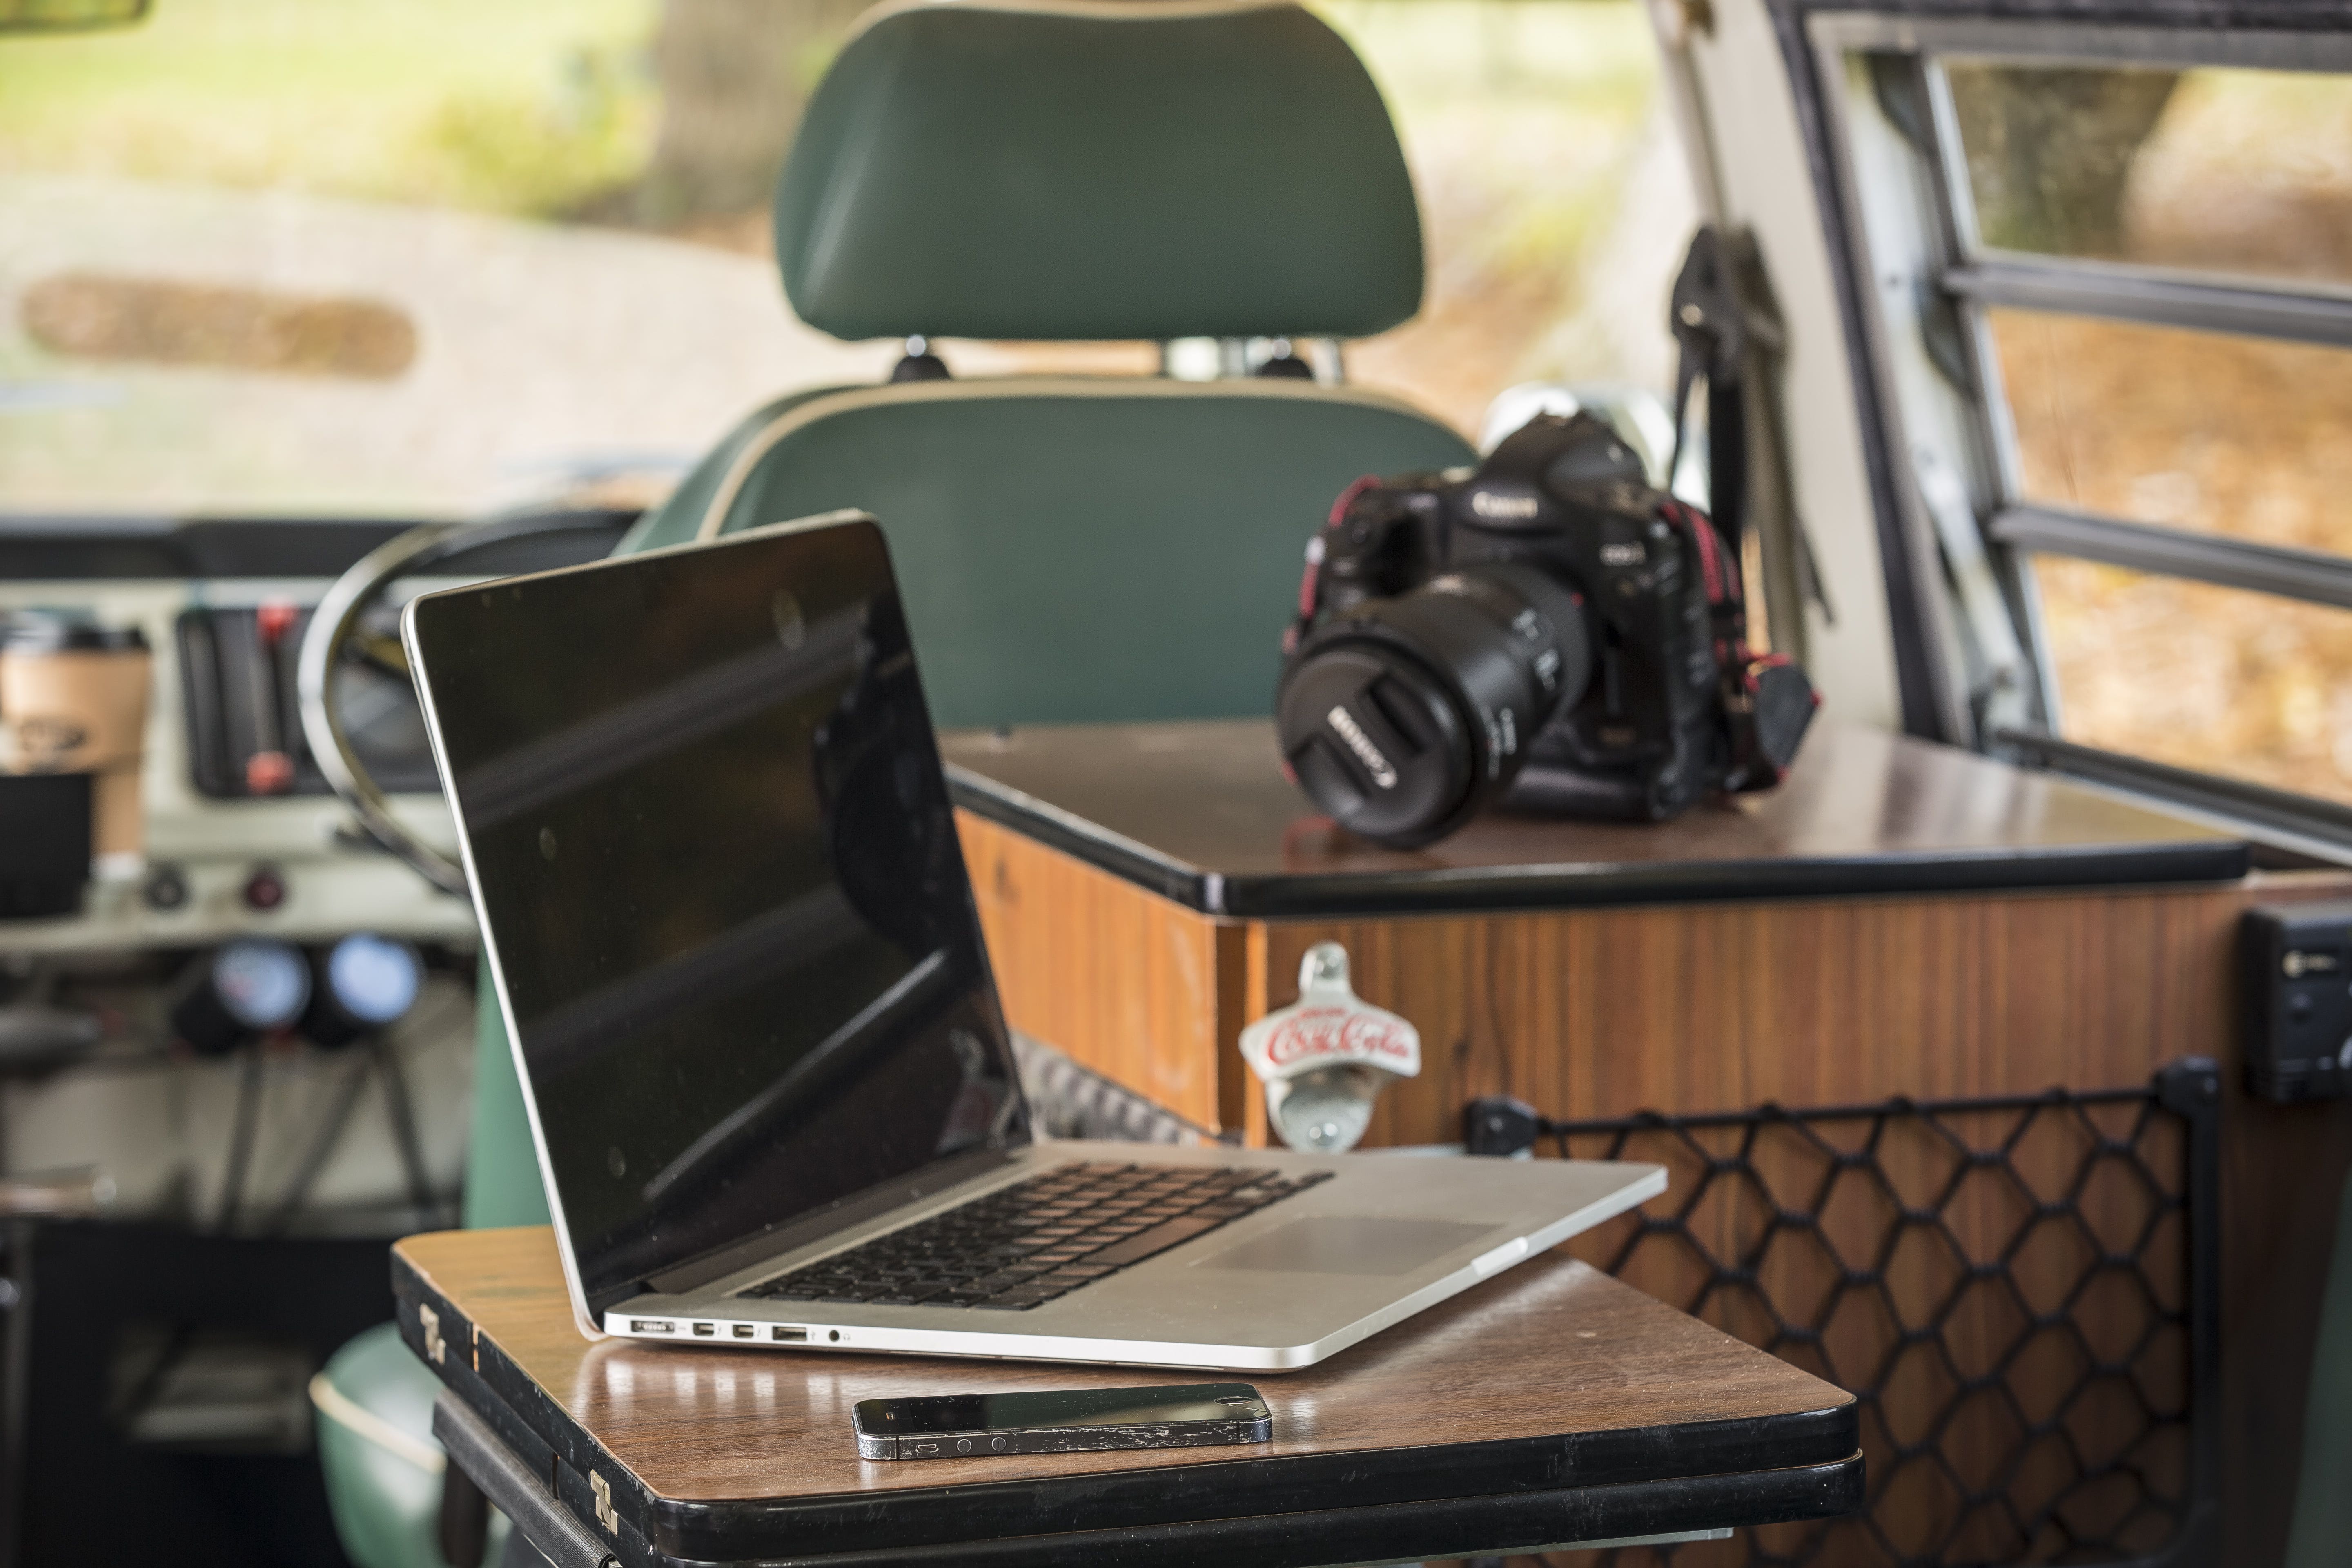
When travelling on the road, Wi-Fi connectivity can prove a necessity, whether you need to quickly re-route due to a closed road or watch a film of a rainy evening. For those who live in their vans, Wi-Fi offers an opportunity to work remotely and connect with friends and family, no matter where they are.
In this modern world, it can be hard to know exactly how to connect to the internet while on the road, and the most effective way to do so, so we’ve put together this helpful guide.
How do I get internet in my campervan?
When deciding on the best type of internet for your campervan, you’ll be presented with numerous options with plenty of bizarre names, from MiFi to dongle to LANs. All internet connectivity will be split down to one of two types:
1. Wi-Fi: Commonly found in houses, this is a fixed internet service that comes from a central cable system and needs physical infrastructure connections to work. The modern broadband/dial-up.
2. Mobile network: This works on connections from phone towers, which create a network of connectivity across countries. Rather than needing a physical cable to connect, you’ll need a SIM card to be able to receive data.
At campsites, or when on the road, your best bet for internet connectivity is through a mobile network such as Vodafone or EE. While some campsites offer top class internet, it’s a rarity that it isn’t confined to the office or reception area and isn’t heavily used by other site members.
Therefore, for reliable internet regardless of whether you’re on the road or not, it’s best to choose a mobile network.

Internet Access in your Campervan: The Steps
When you’re deciding on how to get internet, one thing you will want to consider is how to convert that mobile data into a reliable internet connection. If you only travel for holidays rather than travelling all year round, you may already have enough kit to get going!
The basic steps to getting Wi-Fi in your campervan are:
- Choose a tethering device
- Connect to a mobile network
- Position your device
- Set up the network
And you’re good to go!
1. Choose your Tethering Device
When in your campervan, you’ll need to have a device that creates a mini-Wi-Fi network if you want certain devices to connect to the internet. Your mobile phone will be fine, however your:
- Laptop
- Smart TV
- Firestick/Chromecast
- Printer
And similar won’t be able to connect to a mobile data network. This is where you create a tethering device. This essentially emits a signal that allows Wi-Fi enabled devices to connect to a mobile network via your tethering device.
A tethering device can be a mobile phone with hotspot on or a mobile Wi-Fi device.
Most modern phones have hotspot on already, so for many people, a mobile phone is enough to tether with, especially if it’s just you. Be aware that it can drain your phone battery quickly, so it’s best to not to use your phone at the same time as you tether.
Mobile Wi-Fi devices can be ‘locked’ to a network, such as Vodafone, EE or O2, or ‘unlocked’ where you can simply put a SIM from any provider in and get going. They’re easy to purchase from your existing mobile provider or from an online retailer and usually cost around £50.
2. Connecting to a Mobile Network
Regardless of the network you already have, you will probably need to purchase an additional SIM for the best connection.
If you’re using your mobile phone to tether, see if you can support dual SIM (two SIM cards at the same time). Then you can have two SIM cards on the go to ensure you have good internet connection regardless of where you are.
If you’re taking a standalone product like a dongle with you, then you’ll need to purchase a separate SIM anyway. Check USwitch to make sure you’re getting a good deal for your money. Some providers offer the ability to buy data-only SIMs, but it’s worth shopping around.
Vodafone and EE are known for having near perfect connection coverage across the country and abroad. If you’re currently with a provider that’s not one of the Big 4 (Vodafone, EE, O2 or Three) then the chances are you’re piggybacking off one of these networks already. A simple internet search will tell you which one you’re using. If the coverage isn’t the best, then you may want to go to a better provider. Check using the Ofcom coverage checker to see which is best.
Roaming checks
If you’re planning to take your campervan abroad, you’ll need to check your roaming capabilities with your provider. Not all mobile networks allow you to roam as part of your contract, and some have additional charges for certain countries. It’s always best to check before you travel.
3. Position your Device
While it may seem a strange thing, where you put your device is important. If you’ve ever had to wave your phone around to get good signal, then you’ll know this to be true.
Campervans are basically a metal box on wheels, and metal isn’t the best for letting mobile signal through. Position your tethering device near a window, or if you’re parked, consider an external aerial to pick up the best signal.
If you fancy getting a bit more technical with it, then have a look at CellMapper to see where the nearest cell tower is and the coverage it has.
4. Set up the network
Once you’ve got a connection on your tethering device, set it up to emit Wi-Fi. Remember to set a password, and name it something distinctive. Choose a password that isn’t easy to guess but is easy enough for you to remember!
You may even be able to limit the number of people who can login, or limit how much internet they use. Essentially, set up your network to be secure but safe.
Want to get the latest JustKampers news and upcoming How To articles? Sign up to our Newsletter here for more on the JustKampers world.


